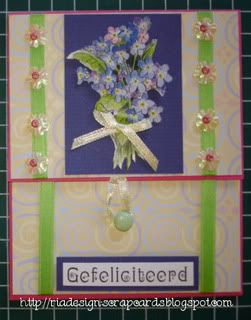
Hi everybody!
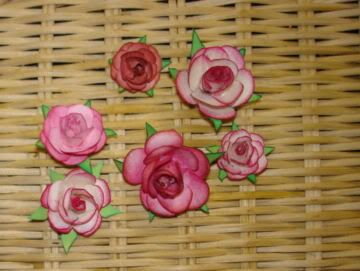
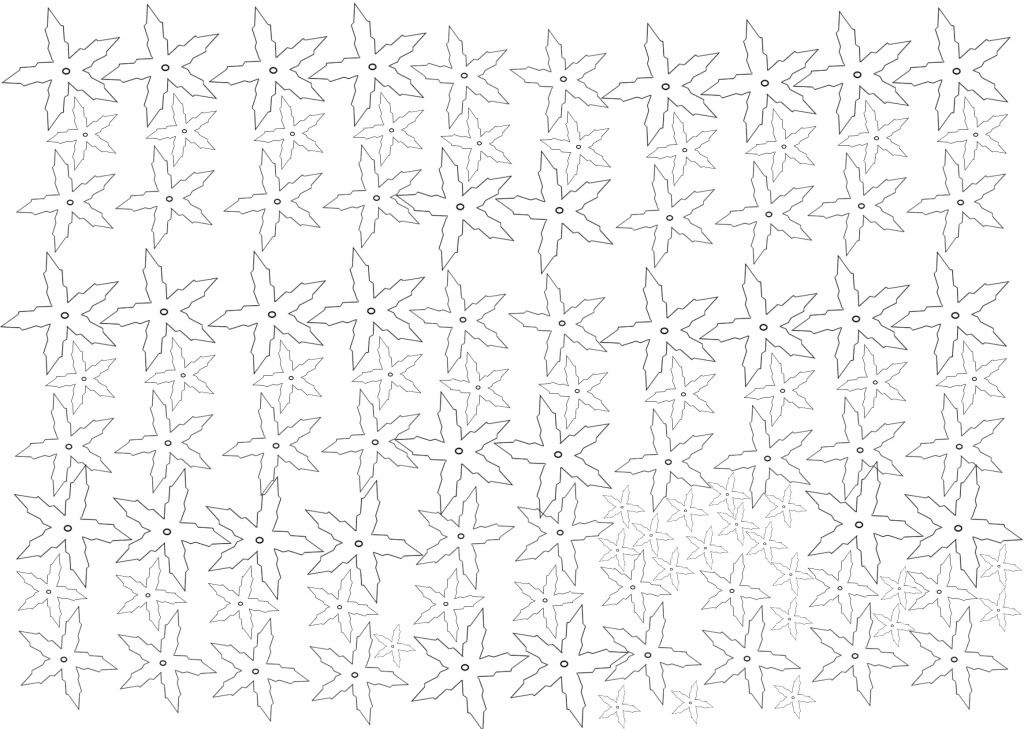
Here I am again, and now we are going to make a different kind of rose. I hope you will enjoy making these paper roses! Because I can never find the right punch to make my roses, I have designed my own roses and leaves. (you could download and print these)
What do we need?
This time I have used a different kind of paper, namely white paper (no cardstock) of “Papicolor”. It can be purchased at the bookstore, “Primera”, for just 0,25 euro and you can make a lot of roses out of it. Load this paper in the printer and print the rose flowers. For the leaves I have used green paper, no cardstock. Load the printer again and print the leaves.
Next, we do need: different colors of ink, glue, a knife, a piercing tool, beads, and thin iron wire (I have bought this at “Intratuin”)

Ok, let’s get started!
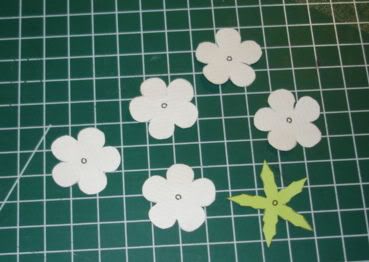
You have to cut 5 flowers of the same size and 1 big leaf. Now, use your knife to make an incision in 5 flowers and punch a hole in the black circle. Next, you need to cut the leaf with your scissors.
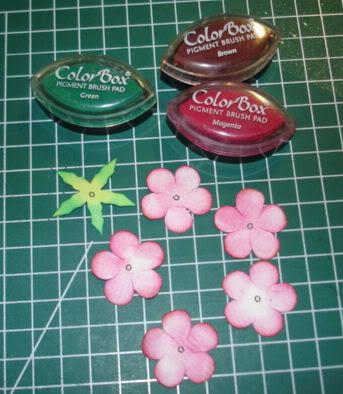
Choose the ink to color the rose and use your ink pad carefully to start adding color to the flower and also add color to the edges, but just a little bit more, so you will get the darker color. Do the same thing with all your flowers, use a darker color on the edges of your flowers, I have used red and brown, and use the green color on your leaves.
The next step is to clean your hands with a baby wipe, because your fingers are now probably red and green. Take a piece of the iron wire and thread your bead and tie a knot. Now you need to take 1 flower and put just a little bit of the glue on both sides, next thread the flower through the hole and turn the flower between your fingers, until you can’t see the bead anymore (the bead will prevent the flower at the top from falling).
Next, this time take 1 flower, put some glue on both sides and thread the flower and turn it a little bit. Set the flower aside to dry while working on the rest of the flower pieces.
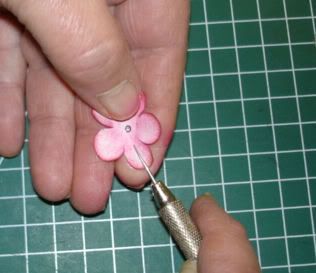
We have got three more flowers to prepare. The next step is to take 1 flower and make 3 veins in every petal with your piercing tool (the easiest way is to put the petal in your hand and then keep 1 petal on your finger and press softly), do the same thing with the two other petals.
With the last flower you turn the edge of the leaf a little bit, but very carefully (you can compare it with making curls in a ribbon with your scissors).
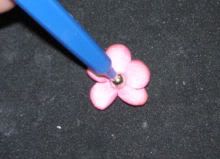
The next step is to take your tiny ball and press it on a soft foundation (for this I have used my Cuttlebug mat) in the center of the flower. The last step is to put the flowers together.
Put some glue on both sides off you big leaf next thread the big leaf through the hole and ready.
Finally, you have a beautiful paper rose, called “Ria Rose”. :)I want to thanks Laura for the tranlations
